This post heavily relies on this guide by Spxlabs and I am simply documenting my changes.
Benefits
By leveraging a second computer to perform OBS encoding, one can reduce their CPU usage on their main computer anywhere from 10-25%.
Additionally, one does not need to purchase a capture card!
Prerequisites
Before you beginning following the Spxlabs guide you should have completed the following:
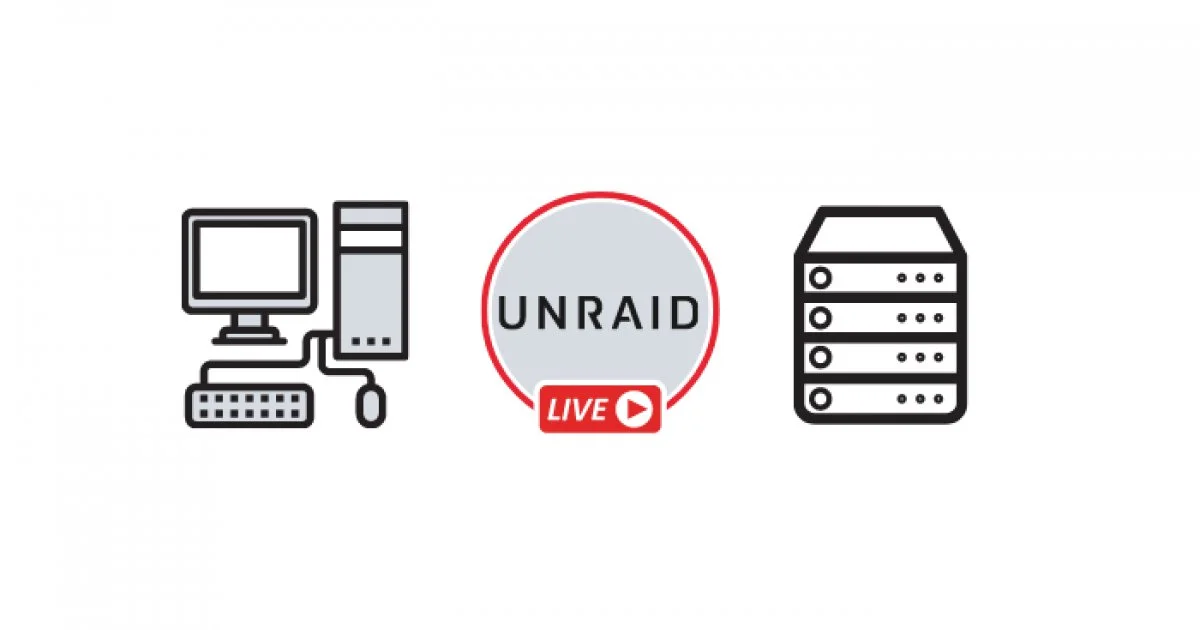
- Have Unraid installed
- Have Community Applications installed on your Unraid box
- Enable Docker Hub searches for Community Apps
- Have a Twitch account
- Install OBS on your gaming PC
- Install the NDI plugin on your gaming PC. You don’t have to follow this entire guide, as it will walk through setting up NDI on your stream PC, which we’ll an alternative way
Install Docker Container With OBS and NDI
- Install
daedilus/docker-obs-ndicontainer - When configuring the container use the following settings and have Advanced View on (top right corner)
- WebUI: http://[IP]:[PORT:5901]
- Network Type: Host
- Console shell command: Bash
- Add two new ports
- web vnc ui port 5901 -> 5901
- vnc port -> 5900 -> 5900
- Start the container
- Click “web ui” and connect using the default password of 123456
- Right click in on the desktop and click “DockerCustom” “OBS Screencast”
- Deny using the onboarding wizard
- Create a new Source and use the following settings
- Source name: Select from the drop down, it should populate with the settings you configured your gaming PC with in the “Prerequisites”
- Bandwith: Highest
- Sync: Network
- Allow hardware acceleration: unchecked
- Fix alpha blending (adds a filter to this source): unchecked
- YUV Range: Partial
- YUV Color Space: BT.709
- Latency Mode: Low (experimental)
- Resize the NDI source to fit the full black screen
- If you have OBS running on your gaming PC at this point you should see your footage
- Configure stream PC OBS to stream to twitch
- Settings -> Stream
- Enter your Stream Key
- Since this container is accessed using VNC which doesn’t have normal Copy and Paste, my recommendation is to SSH into this container and write your stream key to a file, say at
/twitch-stream-key.txt. Then install a tool that lets you read the file into the clip board. Then paste the clipboard into the Stream Key. $ apt-get update && apt-get install vim xclip -y- Then in a terminal that is running inside the VNC session run
$ xclip -selectio^Cclipboard -i < twitch-stream-key.txt. If you attempt to run this command in a SSH, say a shell exec’d, shell you’ll get the errorError: Can't open display: (null)
- Since this container is accessed using VNC which doesn’t have normal Copy and Paste, my recommendation is to SSH into this container and write your stream key to a file, say at
- Now all we have to do is match our stream PC’s OBS settings to match our gaming PC’s OBS settings. For transparency, my OBS settings are for a 720p stream at 30 FPS and look like the following:


Gaming vs Streaming PC
You should use your gaming PC to configure all your scenes and sources like you would on a single compute build. The stream ing PC is only introduced to perform the encoding and broadcasting of your content.