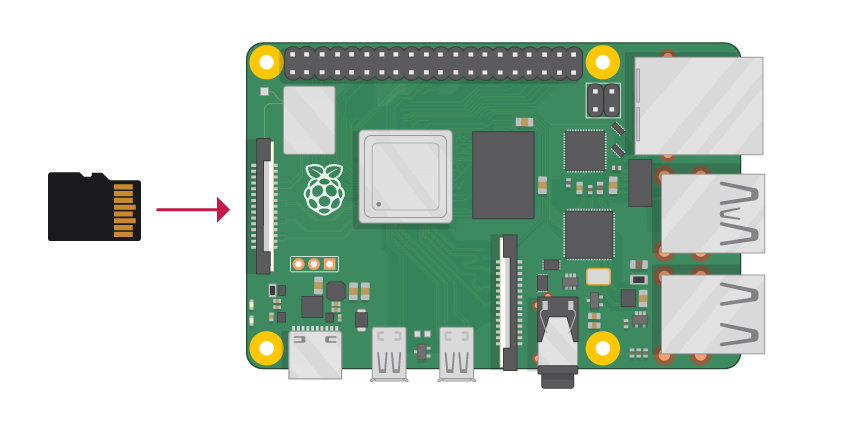
Its very simple to setup a SD card for a Raspberry Pi:
- Reformat the entire SD card to FAT32
- Download the latest version of Raspbian Lite from here
- Use a program, like Etcher to write the zip/iso to your newly formatted SD card
At this point you can bootup your newly formatted Raspberry Pi, but I always complete these additional two steps to get SSH access working on my Raspberry Pi and enabling WiFi connecting for the Raspberry Pis that support Wireless Internet (Raspberry Pi 3 and Raspberry Pi Zero W):
- Create a blank file called
.sshin the boot folder of your SD card (this folder is auto mounted on windows, so it will be the root directory) - Copy this template to create your own
wpa_supplicant.conffile. Put this file in the same boot folder and add your SSID between the quotes and your wifi password between the quotes
Congratulations, your Raspberry Pi is ready to go and should enable SSH access and automatically connect to your wifi. By default, the login is pi and the password is raspberry.
Note: On bootup, the .ssh and wpa_supplicant.conf files will be deleted. This is okay, as the settings are written back to the raspberry pi